
Spring Colours!

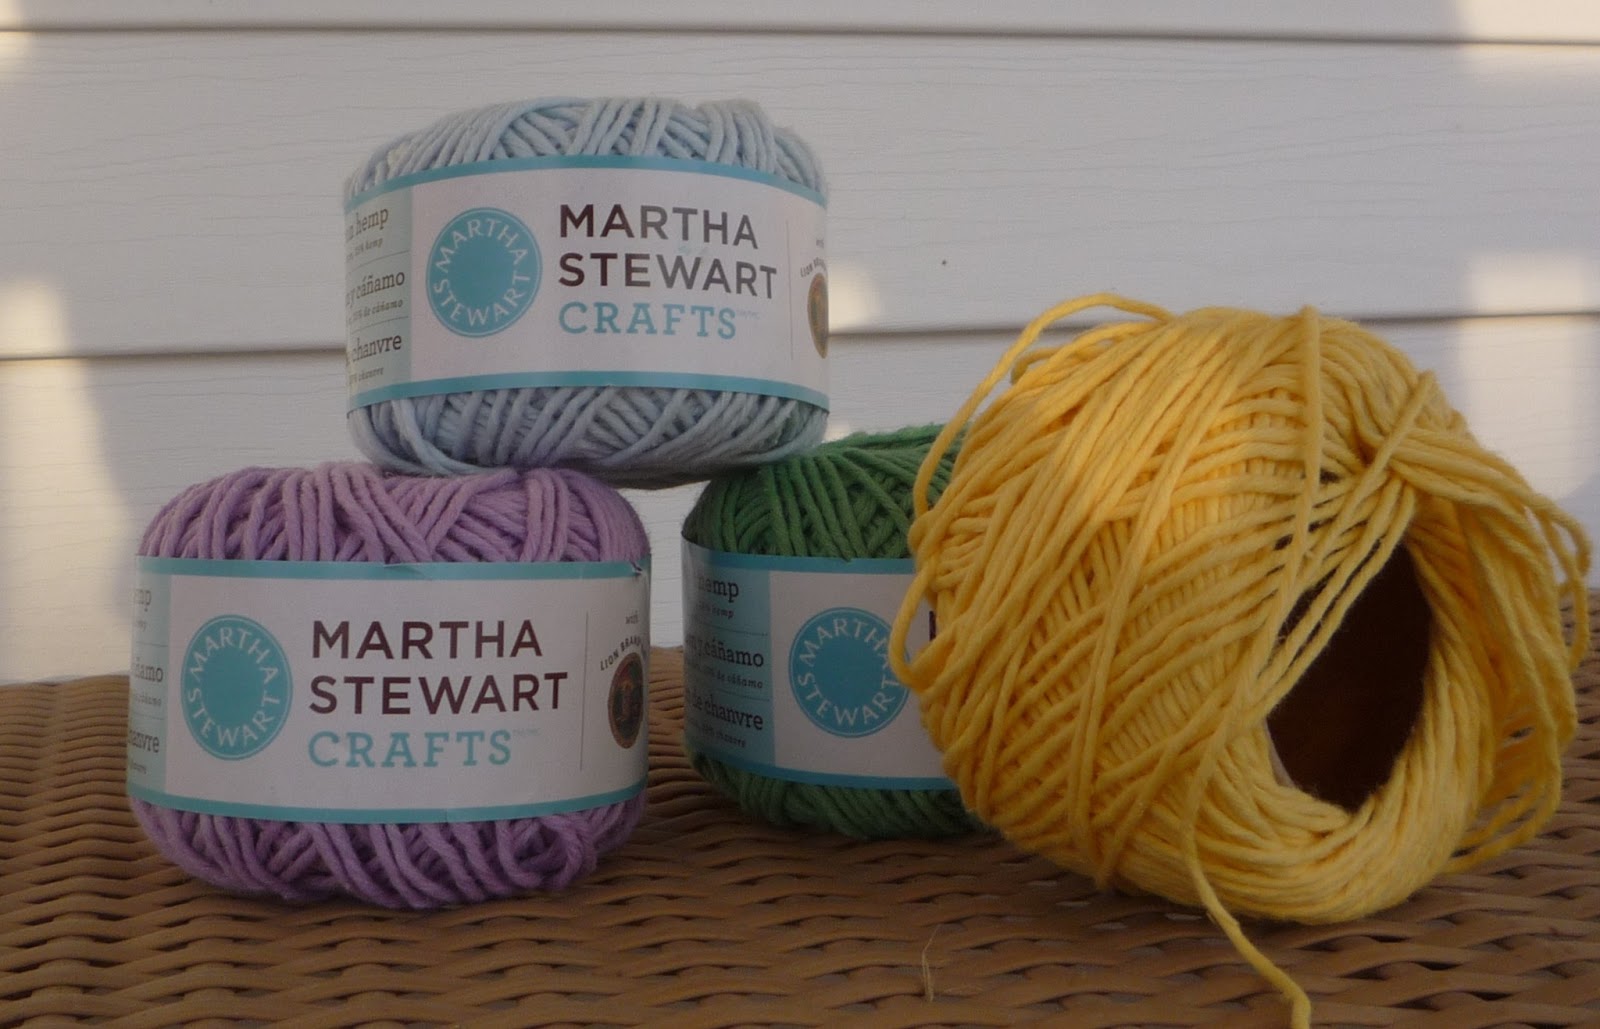
Who could resist these Easter colours?  Not me!  I certainly didn't need to buy more cotton yarn - I am sure there is already lots in "the room".  It went against my current de-stashing efforts too.  Simply, I couldn't resist the colours!  lol  So, to negate the stash building guilt, I had to use up the balls right away and here is what I did with them.

Next stop was at Designs by Emily to pick out some adorable free knit dishcloth patterns.  I really butchered the first one unfortunately.  I should mention that Emily's designs are perfect - it is my knitting skills that aren't! lol


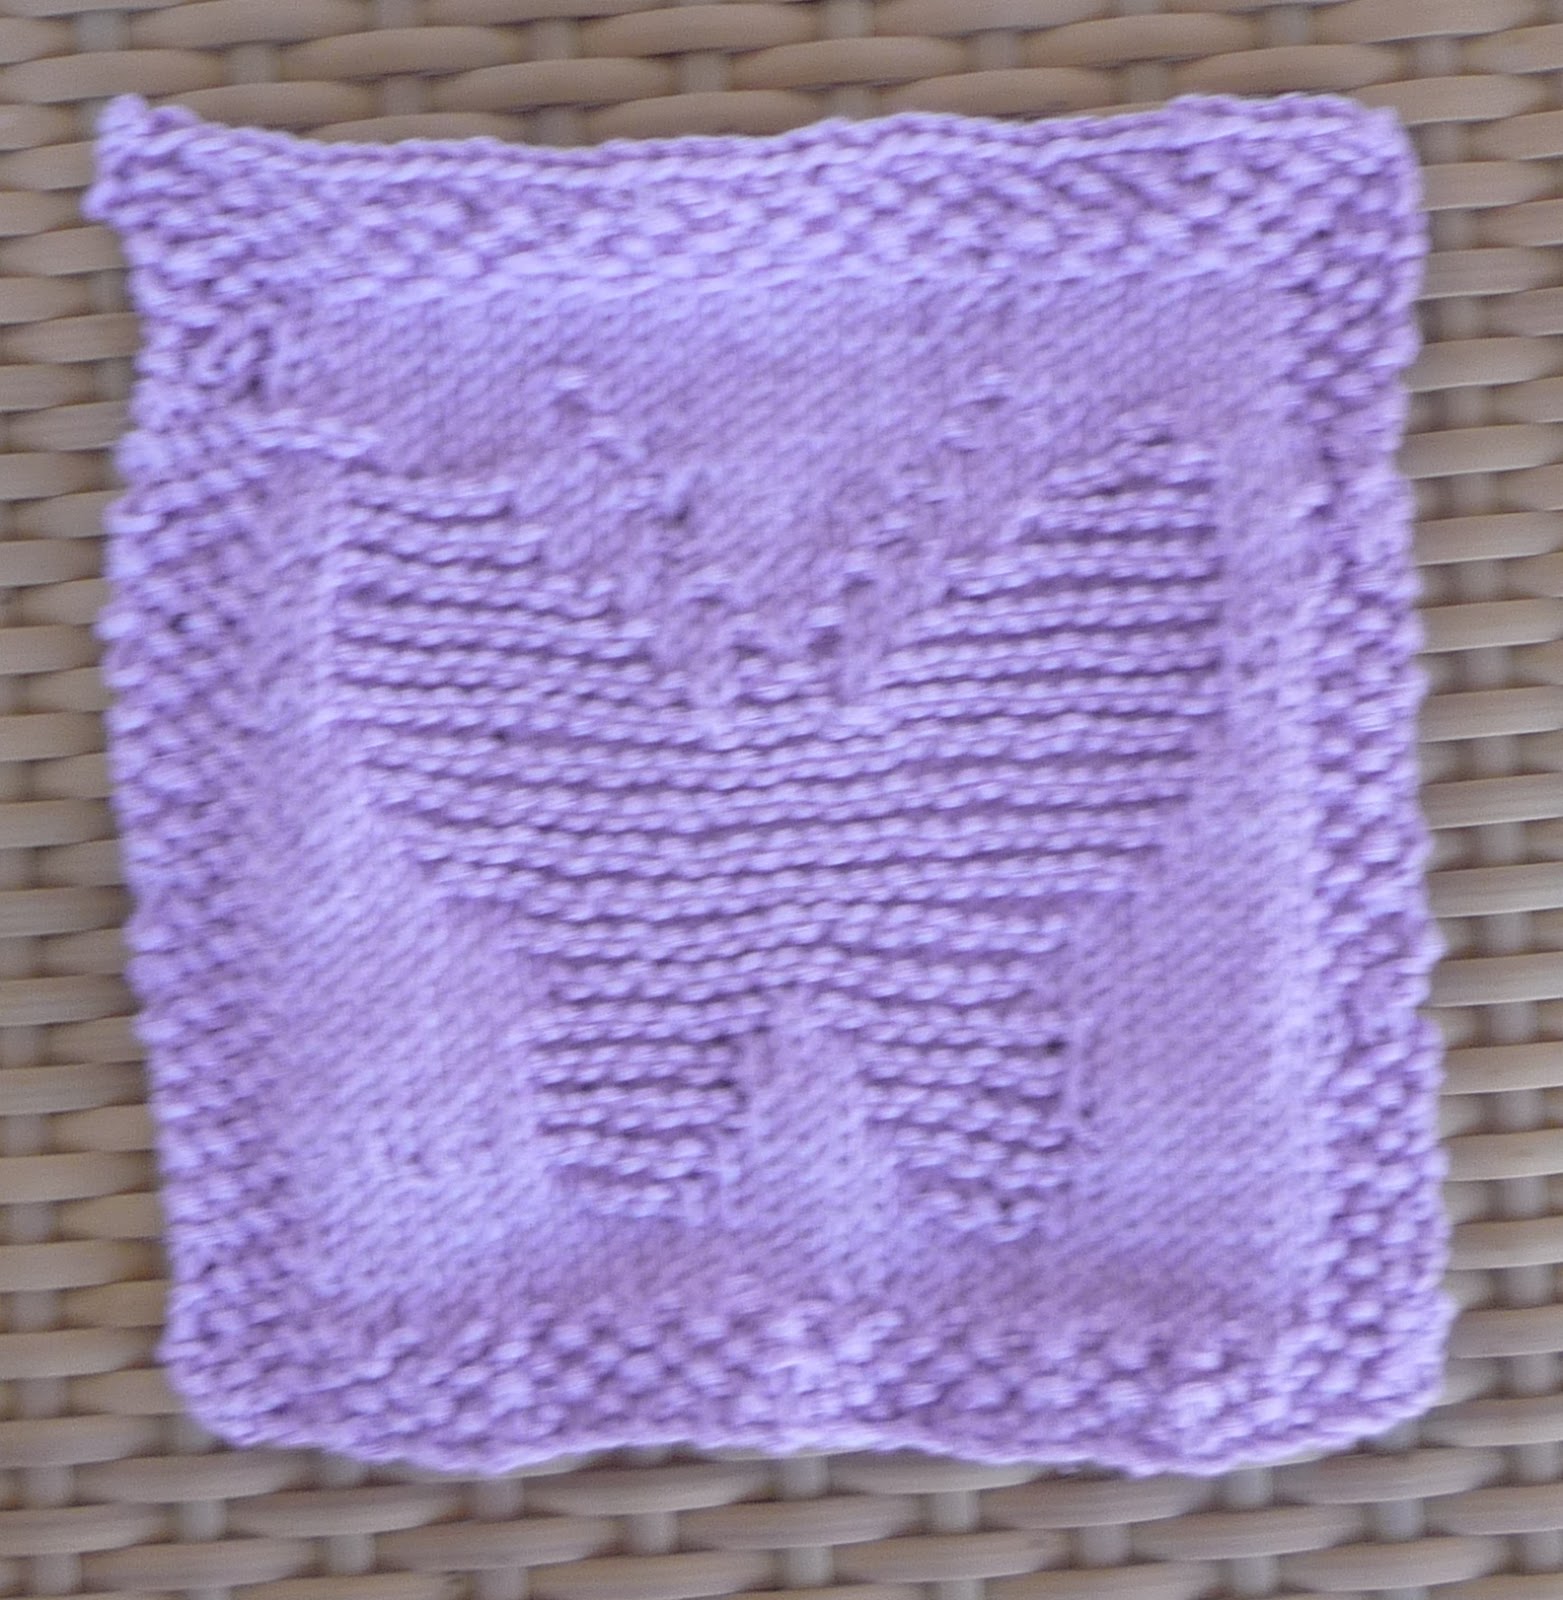
I did a little better with the butterfly - still not perfect by a long shot but they wash dishes, perfect or not.

 I find knitting dishclothes very therapeutic.  I think it is that in a day or so you have a finished project.  Even if they aren't perfect, people are always happy to get them.
 I got fancy here using up the last little bit of purple.
 Love these colours - the blue is just so pretty and I love Emily's heart design.

Last but not least!  I did this one to use up every last scrap of these balls of yarn.  So, I was successful in not adding anything to my stash, not even scraps.  And I got to satisfy my urge to buy this yarn and have a nice little pile of dishcloths.  Not very exciting but I call it a success.

Comments

Annie said…
Your knitting skills are fine. Nothing that a good blocking won't fix. I block them just so they look pretty as a gift or for taking the initial photo. After that... who cares!

Have a great weekend!
Debbie S. said…
Great job on buying and using the items right away. I am terrible at that as my room can attest.

Popular posts from this blog

Giveaway Day! (CLOSED)

I am very happy to be joining in the Giveaway Day through Sew, Momma, Sew .  I have chosen to share one of my finds from a shopping trip, or treasure hunts as I think of them.  This is an antique sewing box -  I could not resist it when I saw it for sale!  Were you able to guess the item from the sneak peek earlier in the week? The box itself is fairly small, 8 inchs X 6 inchs and 4 inches high (20 cm X 15 cm and 10 cm high).  From my research it is of Asian origin. Inside the sewing box is lined with hand-painted silk.  The inside of the lid features a neat little needlebook. In the bottom of the sewing box there are more beautiful hand-painted blossoms and an attached pincushion.  I hope you are as charmed by this little box as I was when I found it and that you will enter my giveaway.  I will be pleased to mail internationally so everyone is invited to enter. To enter, visit my Etsy shop and then come back and leave me a...

BAS - Week 81 - Sequin Flower with Tutorial

This Build a Seam (BAS) Challenge is a little different - not exactly a stitch per se.  It is a technique for making sequin flowers which can be a wonderful addition to a seam treatment or motif. You will need cupped sequins for this - flat ones will not work properly - and some seed beads.  Mark your fabric with a center dot and five evenly spaced dots around the outside.  Bring your needle up through one of the dots on the outside and string on one sequin (cup upwards), a bead, another sequin and two more beads.  Take your needle down through the middle dot.  Carry on making another leg in the same way on each of the other four outside dots, always going down into the center dot which will be the middle of your flower. This is what you end up with after you have done all five legs - a nice little sequin flower!  You can add a bead or two more in the center of the flower if you wish.  You can also vary the number of legs depending on the size of t...

BAS - Week 79 - Feather Stitch Variations

I have about the next twenty BAS stitches scheduled and by happy coincidence this week's BAS is a series of Feather Stitch variations which coincide with this week's TAST stitch if you are following.  So, we can hit two birds with one stone!  These hardly look like feather stitch but they are.  They are created by making the "v"'s of the feather stitch vertical on the inside.  Very simple to do but a different look to an old stitch.  The second variation is created by doing two feather stitches at a time on each side, again making sure the inside of your "v"s are vertical and line up as much as possible. Same thing again in this one except they are in series of three.  To me these have the look of stitching on old crazy quilts so they are nice to add to your stable of stitch variations.  Hope you  enjoy them and have fun!